Sealing a popsicle bag is a simple process when the bag, frozen treat, and sealing equipment are prepared correctly. For anyone learning How To Seal Popsicle Bags, the main focus should remain on creating a clean, continuous closure without placing the popsicle near the heated sealing area. The correct size, sufficient space, smooth edges, suitable heat settings, and proper cooling all contribute to the quality of the finished seal. A careful approach also supports the presentation of the product and makes handling easier after freezing.
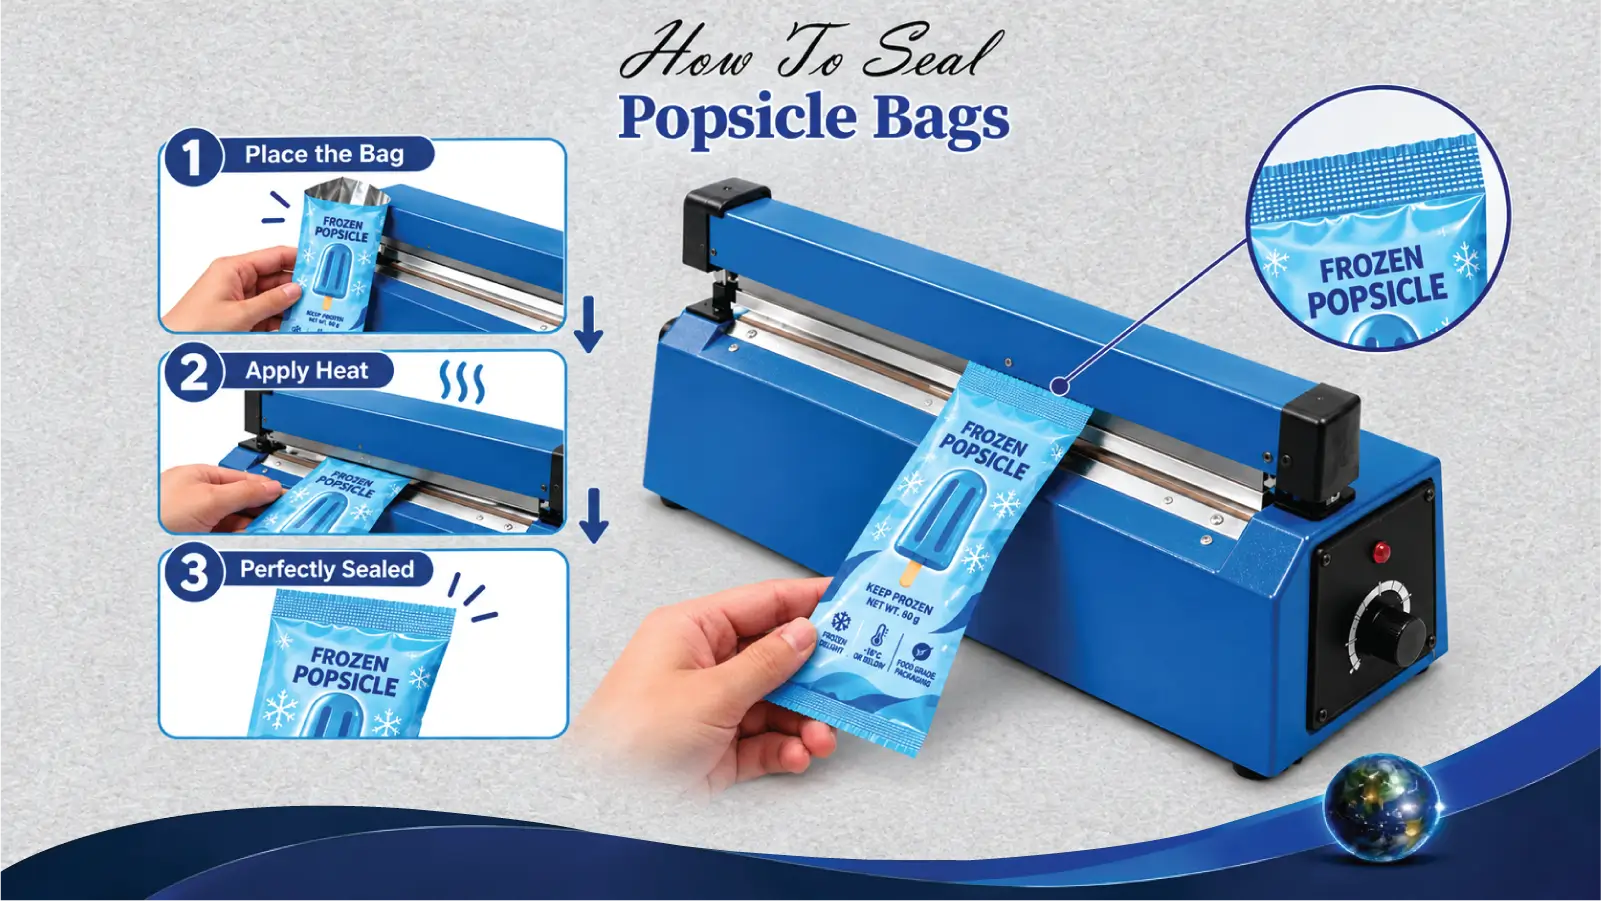
Discover How Popsicle Bags Are Sealed In 30 Seconds
Understanding how to seal popsicle bags starts with the basic method of a heat sealer. Heat and pressure are applied to the open section of a suitable heat-sealable Custom Mylar Bags With Window, causing the sealing layers to bond together. The process can be remembered through these simple stages:
- Place and Prepare the Popsicle: The frozen popsicle is positioned inside the correctly sized bag, leaving a small empty section above it. Excess air is gently reduced, while the upper edges remain flat, clean, and free from wrinkles or moisture.
- Apply Heat and Pressure: The open section is placed between the heated jaws while the frozen popsicle remains below the sealing area. The jaws press the bag layers together while controlled heat is applied for a short period.
- Cool and Inspect the Seal: The sealed section is left undisturbed briefly after the heated jaws are released. The complete seam is then checked for gaps, wrinkles, weak sections, or incomplete bonding.
Following these stages makes how to seal popsicle bags easier to understand, especially for beginners learning the process for the first time. Now the main question is why it is important to seal the pouches. To know the answer in detail, you have to view Why Heat Sealing Matters in Popsicle Packaging in detail, and I know it can give your answer more quickly than expected.
See How Popsicle Bags Get Sealed
Proper heat sealing is necessary to keep the items safe from the external climate; for a detailed view, have a look below:
1. Prepare and Position Popsicles in Bags
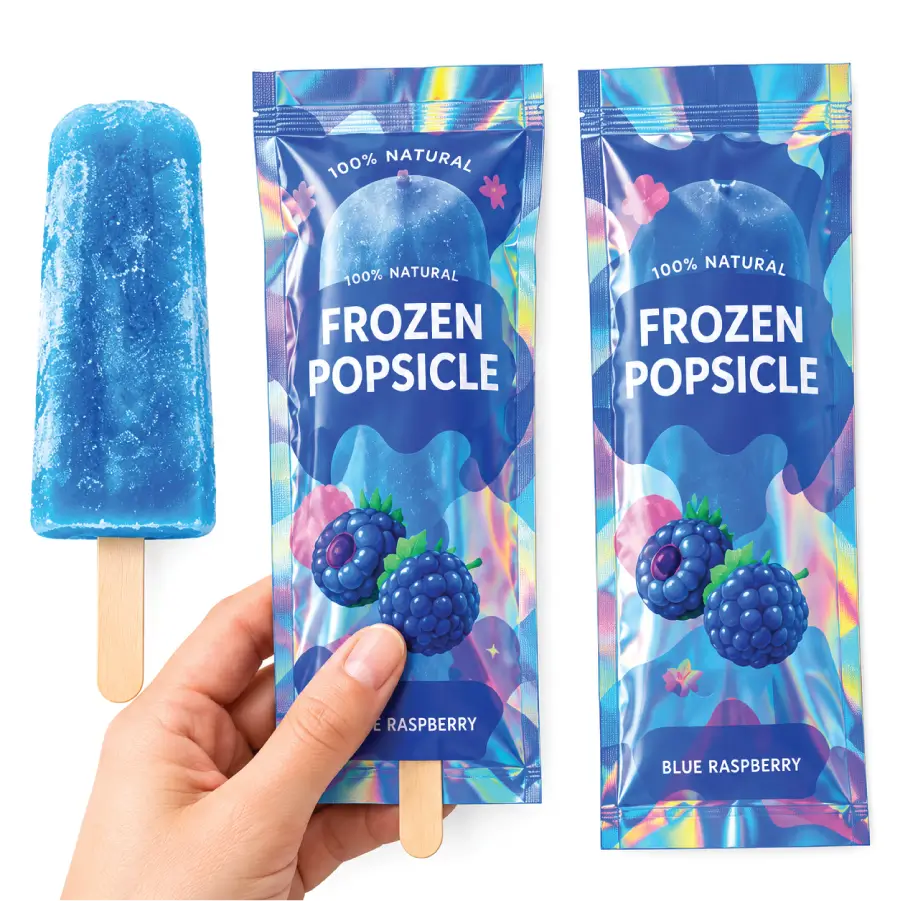
The first stage of how to seal popsicle bags involves preparing the frozen treat and the correctly sized bag. The popsicle should be completely frozen before it is placed inside the bag, while the dimensions of the bag should correspond with the dimensions of the popsicle. A bag that is too small may leave insufficient space around the treat, whereas excessive material from an oversized bag may make positioning less convenient. Let’s explore Compostable Popsicle Bags and see their material properties and practical features for frozen treats.
The popsicle should be placed gently inside the bag without stretching or damaging the film. The position of the stick should remain suitable for the intended presentation of the product, while the open section should remain accessible for sealing. These preparations make how to seal popsicle bags easier to follow during the remaining stages. Let’s explore Custom Ice Pop Packaging and see its material options, custom printing details, and presentation features for frozen treats.
2. Leave Sufficient Space Above the Popsicle
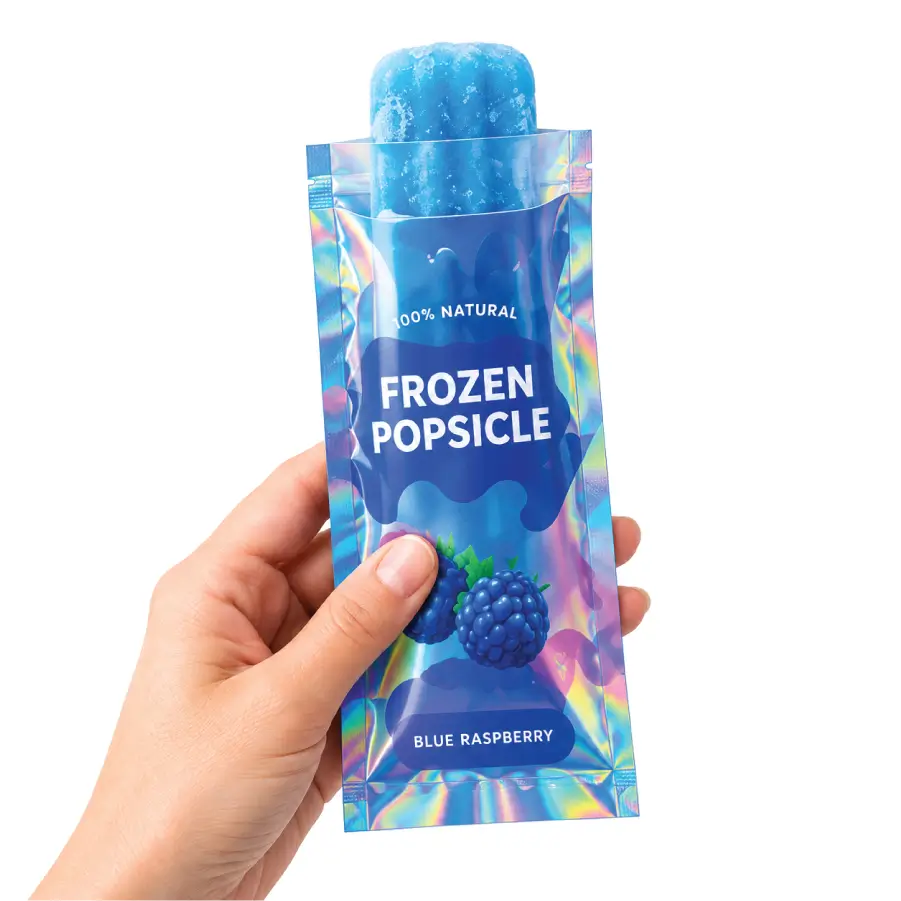
A small empty section should remain above the popsicle before the sealing process begins. This area is necessary because the sealing jaws need a clean section of material for proper contact. When learning how to seal popsicle bags, the seal should not be positioned directly against the frozen treat because the heated area is intended only for the empty upper section of the bag.
The amount of empty space depends on the dimensions of the bag and the sealing equipment, but enough material should remain above the popsicle for secure positioning. Take a closer look at Popsicle Disposable Bags and understand their convenient format for serving frozen treats. A consistent top margin also contributes to the presentation of the product after sealing.
3. Remove Excess Air Before Sealing
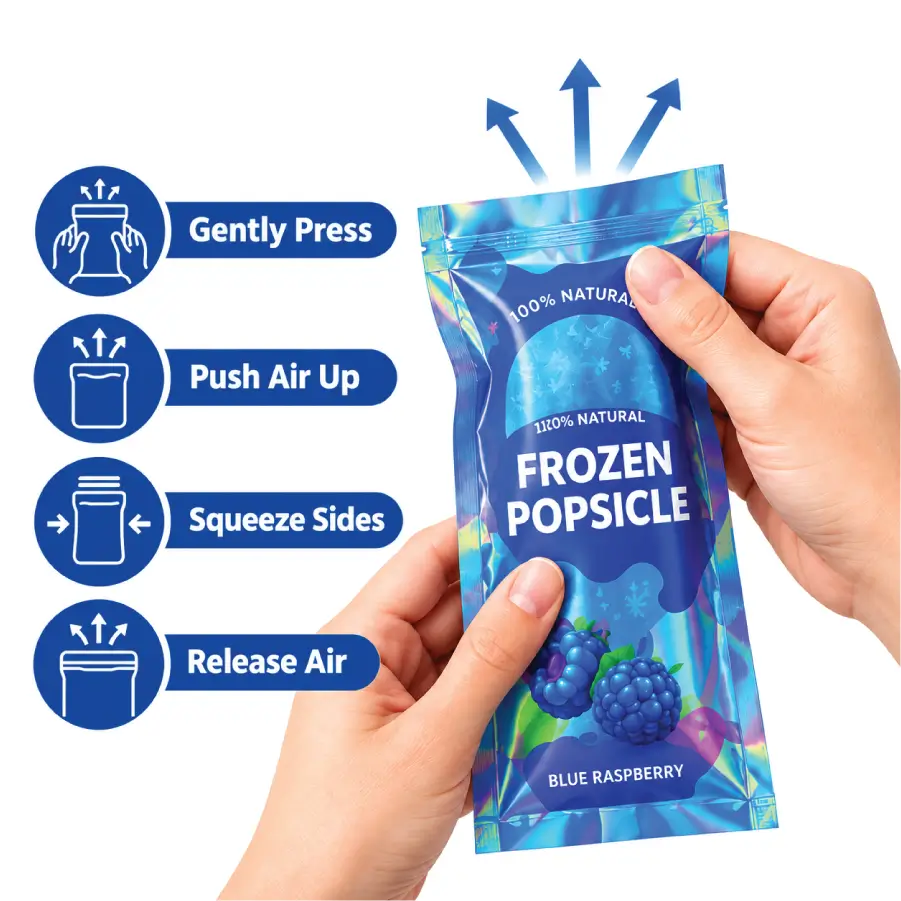
The next stage of how to seal popsicle bags involves reducing unnecessary air around the upper section of the frozen treat. The bag should be held gently while excess air is guided towards the open end. Strong pressure should not be applied to the popsicle because excessive handling may affect its shape, particularly when the frozen treat is soft or delicate. After excess air has been reduced, the upper section should remain accessible for the heat-sealing process. This preparation leaves the material in a more manageable position and supports a cleaner appearance of the finished seal. Let’s dive into Wholesale Ziploc Popsicle Bags and explore their resealable format for storage advantages for frozen products.
4. Flatten Bag Edges Without Wrinkles
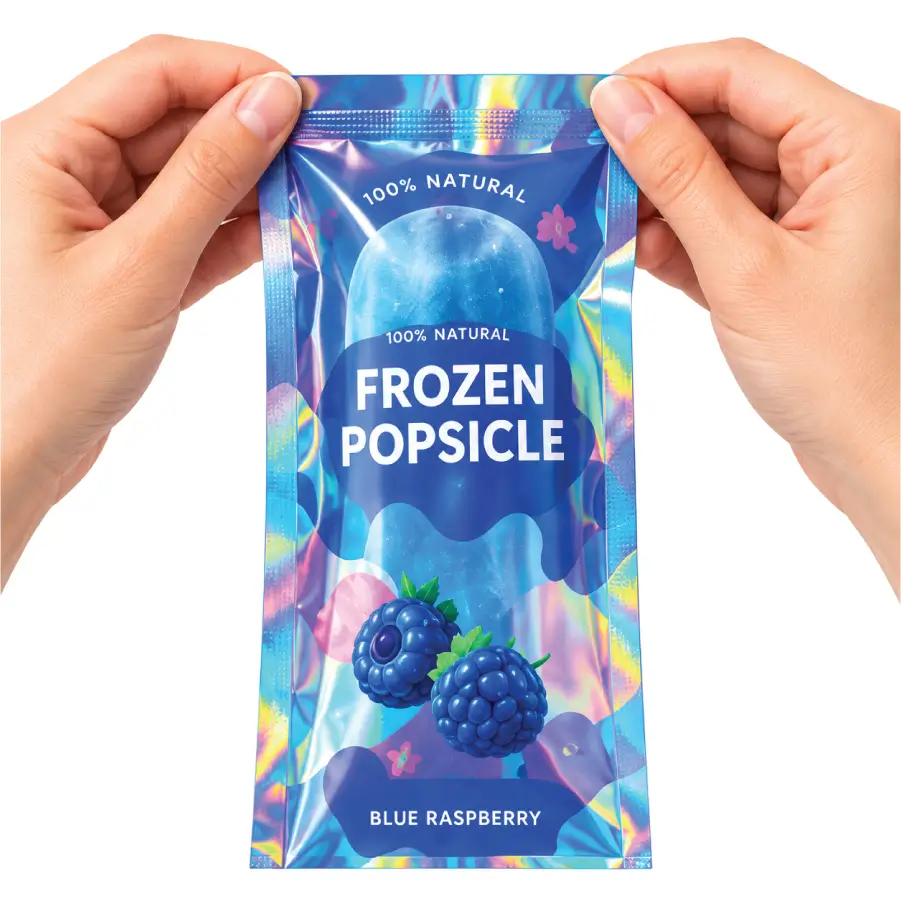
Before how to seal popsicle bags is completed, the open edges need to be flattened carefully. Wrinkles, folds, moisture, or overlapping sections may interfere with even contact between the sealing layers. The upper edges should therefore be held gently and smoothed before the bag is placed inside the heat sealer. The sealing area should remain clean and dry because moisture or frost may interfere with proper bonding. Let’s check out Printed Ice Pop Wrappers and discover their custom printing options, visual appeal, and presentation benefits for frozen products. A flat surface across the opening also makes the sealing line easier to position accurately. These small preparation steps contribute to consistency in the finished closure and presentation of the product.
5. Position the Top Inside Heated Jaws
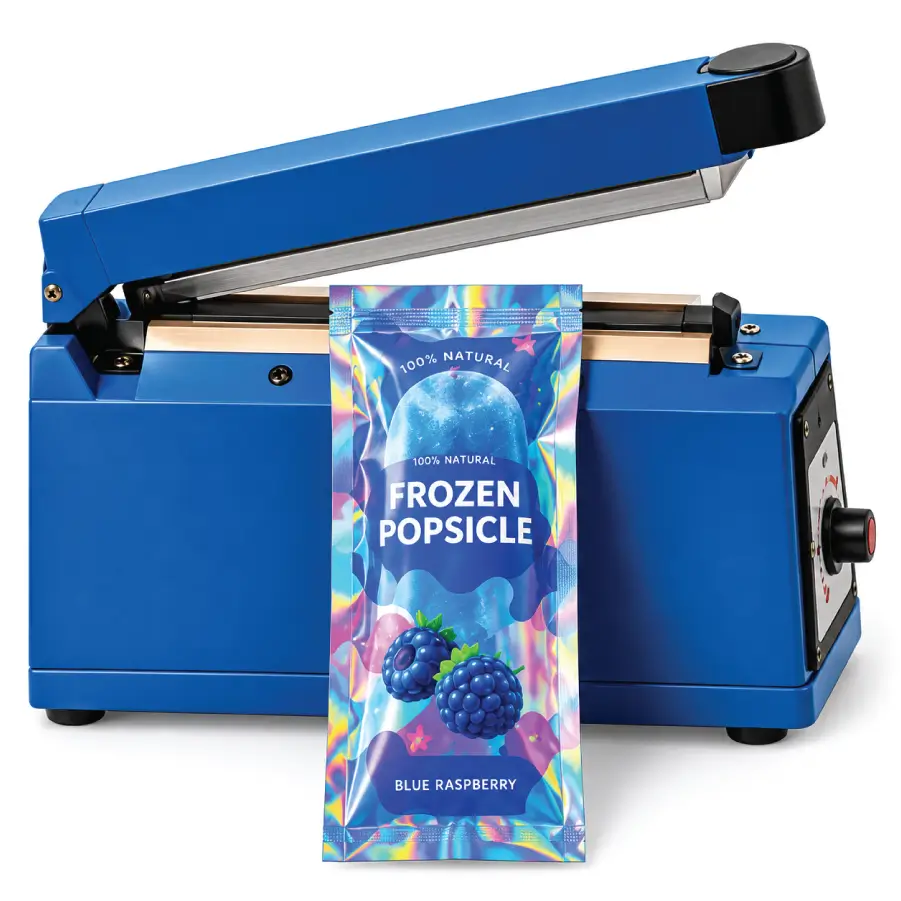
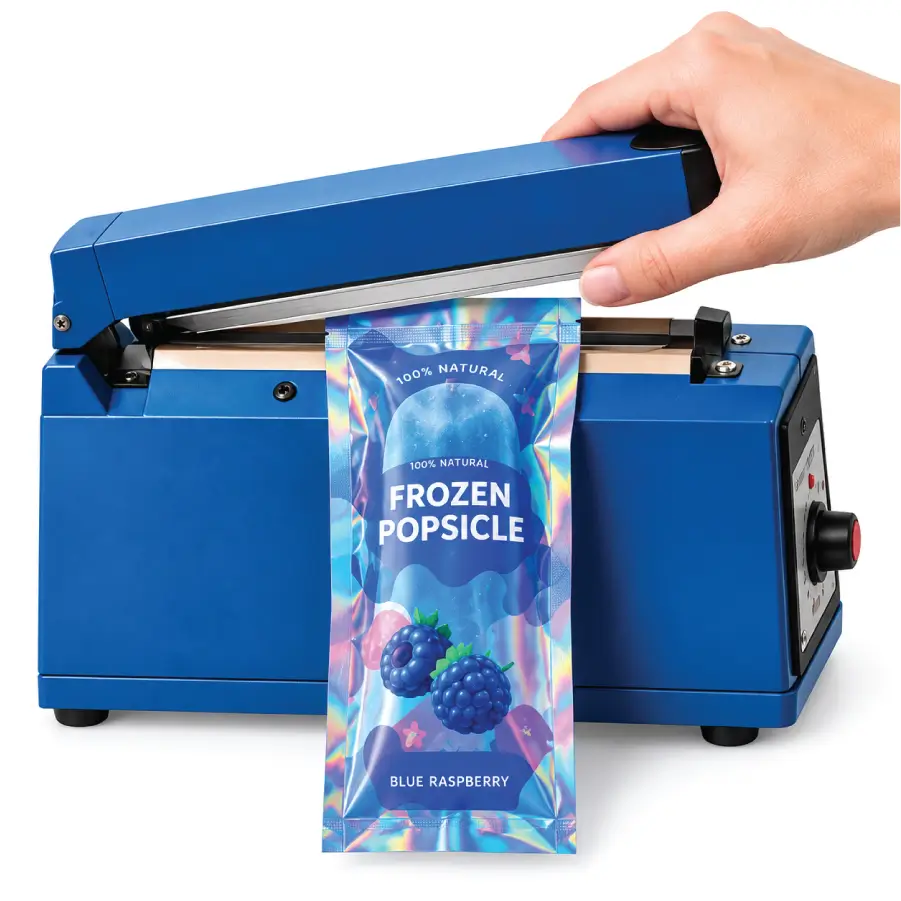
The next part of how to seal popsicle bags involves positioning the open top section between the heated jaws of the heat sealer. Only the empty upper area of the bag should enter the heated section, while the frozen popsicle should remain safely below the jaws. The sealing line should be positioned straight across the opening rather than at an angle. Careful alignment is important because the joined seam forms along the section where heat and pressure are applied. When the opening is positioned correctly, the sealing process becomes easier to control, and the appearance of the finished closure remains more consistent.
6. Press Sealer and Wait a Few Seconds
Once the opening has been positioned correctly, the next stage of how to seal popsicle bags involves closing the sealing jaws. The jaws press the two sides of the bag together while controlled heat is applied for a short period. The exact temperature and sealing time depend on the material, thickness, and specifications of the sealing equipment. For this reason, the recommended settings for the heat sealer and material of Custom Frozen Food Bags Wholesale should be followed instead of applying one fixed timing to every application.
When the timers complete, it gives the signal that the properly sealed bag is ready now. Excessive heat may damage the film, while insufficient heat may result in an incomplete seam. A small test seal may be completed first when unfamiliar materials or equipment are being used.
7. Allow the Sealed Edge to Cool
After the heating cycle, the jaws should be released carefully, and the newly formed seam should remain undisturbed for a short cooling period. This step is an important part of how to seal popsicle bags because the sealing layers may still be warm immediately after the jaws open. Pulling or stretching the bag too soon may affect the appearance or strength of the seam.
A brief cooling period allows the joined layers to settle before the bag is handled further. The cooling time depends on the material and equipment, so the recommended operating instructions should be followed. You can add a sleeve for information on the sealed packaging. Let’s explore Custom Printed Popsicle Sleeves and see their printable surfaces, structural features, and presentation benefits for branded frozen treats.
8. Inspect the Seal for Weak Spots
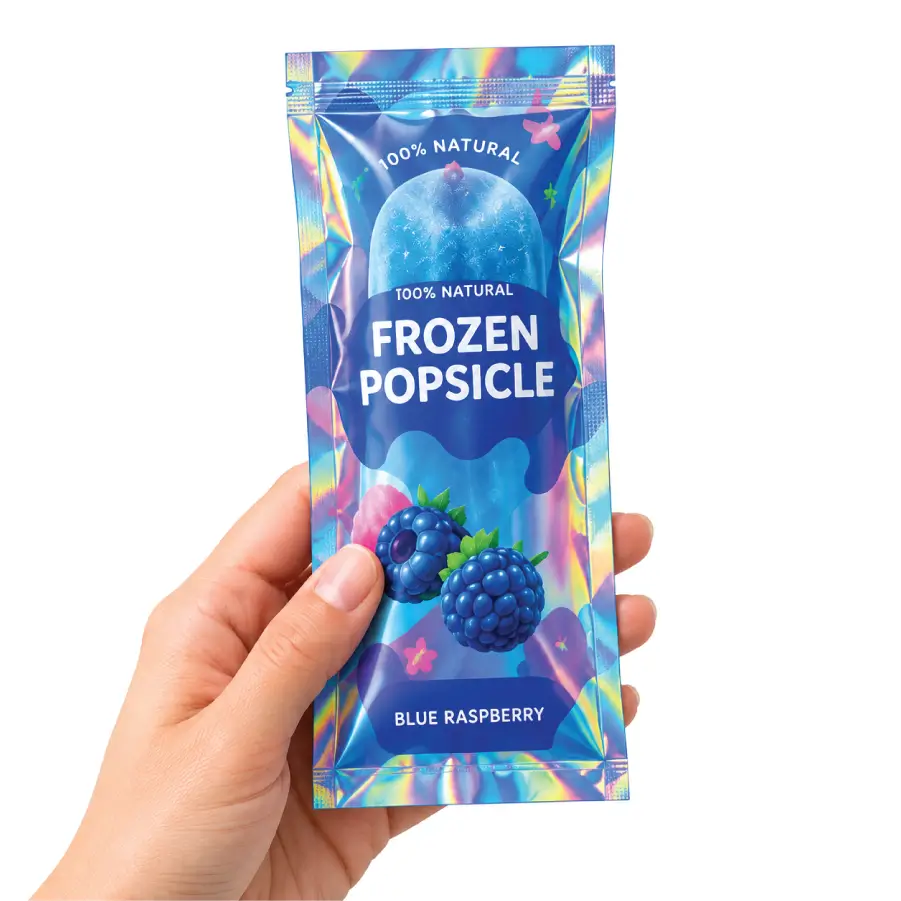
A careful inspection forms the final quality check in how to seal popsicle bags. The complete seam should be examined for gaps, wrinkles, incomplete bonding, excessive heat marks, or sections that separate during gentle handling. The sealed edge should remain continuous from one side to the other, with no visible opening along the intended closure. If weak sections appear repeatedly, the temperature, pressure, sealing time, or compatibility of the bag material with the equipment may need to be reviewed. This inspection also contributes to the presentation of the product because a neat, continuous seam creates a more orderly finished appearance.
Follow Safe Freezing and Storage Practices
After how to seal popsicle bags has been completed, suitable freezing and storage practices should be followed. The following points are important for maintaining packaging integrity:
- Keep Sharp Objects Away: Sharp objects should remain away from the bags because punctures may compromise the integrity of the packaging.
- Maintain Clean Storage Conditions: Clean storage conditions should also be maintained, particularly when the Cardboard Packaging Sleeves For Food are being handled for food service or commercial distribution.
- Select Suitable Bag Material: The material of the bag should be selected according to the intended freezing conditions, food-contact requirements, and sealing method.
“I like the whole package to be good. It’s a rarity that that happens, so I end up not working a lot.” — Robin Wright Penn
Through these practices, the quality of the product and presentation of the product can be preserved throughout storage. Canadian requirements may include applicable provisions under the Food and Drug Regulations, including Division 23 for food-contact packaging, the Safe Food for Canadians Regulations (SOR/2018-108), and the Consumer Packaging and Labelling Act (R.S.C., 1985, c. C-38) together with the Consumer Packaging and Labelling Regulations (C.R.C., c. 417). Where applicable, packaging and environmental claims must also comply with Canadian requirements governing accurate and non-misleading representations. Take action immediately, consult professionals now!
Conclusion
Learning how to seal popsicle bags becomes much easier when the process is divided into clear stages. The frozen treat is first placed inside a correctly sized Custom Packaging, followed by the preparation of sufficient space above the popsicle. Excess air is gently reduced, the open edges are flattened, and the upper section is positioned correctly. For anyone researching how to seal popsicle bags, careful preparation remains the key to a consistent and secure closure. Proper attention to the sealing area also contributes to the presentation of the product, handling, and overall packaging quality.
Frequently Asked Questions (FAQs)
What type of bag is suitable for sealing popsicles?
For how to seal popsicle bags, a food-grade, heat-sealable bag with suitable material compatibility is generally selected according to the freezing and sealing requirements of the product.
How much space should remain above the popsicle?
In how to seal popsicle bags, a sufficient empty section should remain above the popsicle so that clean material is available for contact by the sealing jaws, without the frozen treat being touched.
Why should the bag edges remain flat?
Within how to seal popsicle bags, closer contact between sealing layers is provided by flat edges, reducing wrinkles, folds, gaps, and uneven sections along the finished seam.
Can too much heat damage the bag?
Yes, and this is a key caution within how to seal popsicle bags: the material may be distorted or weakened by excessive heat, so temperature settings should follow the specifications of the equipment and bag.
How long should the sealed edge cool?
As part of how to seal popsicle bags, the cooling period depends on the material and heat sealer, so the recommended operating instructions should be followed after each sealing cycle.
What should be checked after sealing?
As the final check in how to seal popsicle bags, the complete seam should be examined for gaps, wrinkles, incomplete bonding, burned sections, and separation during gentle handling.
Can popsicle bags be sealed without heat?
Some formats have resealable closures, but for how to seal popsicle bags, suitable heat-sealing equipment is generally required to achieve a permanent closed seam with heat-sealable bags.
Where can suitable popsicle bags be purchased?
For those researching how to seal popsicle bags but first they have to get the popsicle bag sand these bags are offered from Universal Packaging, with material, size, printing, and sealing options based on application requirements. You can also buy Die Cut Popsicle Boxes and understand their structured format, printed surfaces that use no heat sealing.
Are custom printed popsicle bags suitable for sealing?
Custom printed bags may be produced with heat-sealable structures, depending on the selected material, printing method, dimensions, and intended application.